Midway Gave the U.S. Navy Time to Develop the Island-Hopping Strategy That Eventually Won the Pacific War
Early in World War II, the Japanese navy seemed unstoppable after the attack on Pearl Harbor. It was marching over opponents and dominating the Indo-Pacific. The United States needed to stop the relentless advance, regain lost momentum, and rebuild confidence among the American people, who were still in shock.
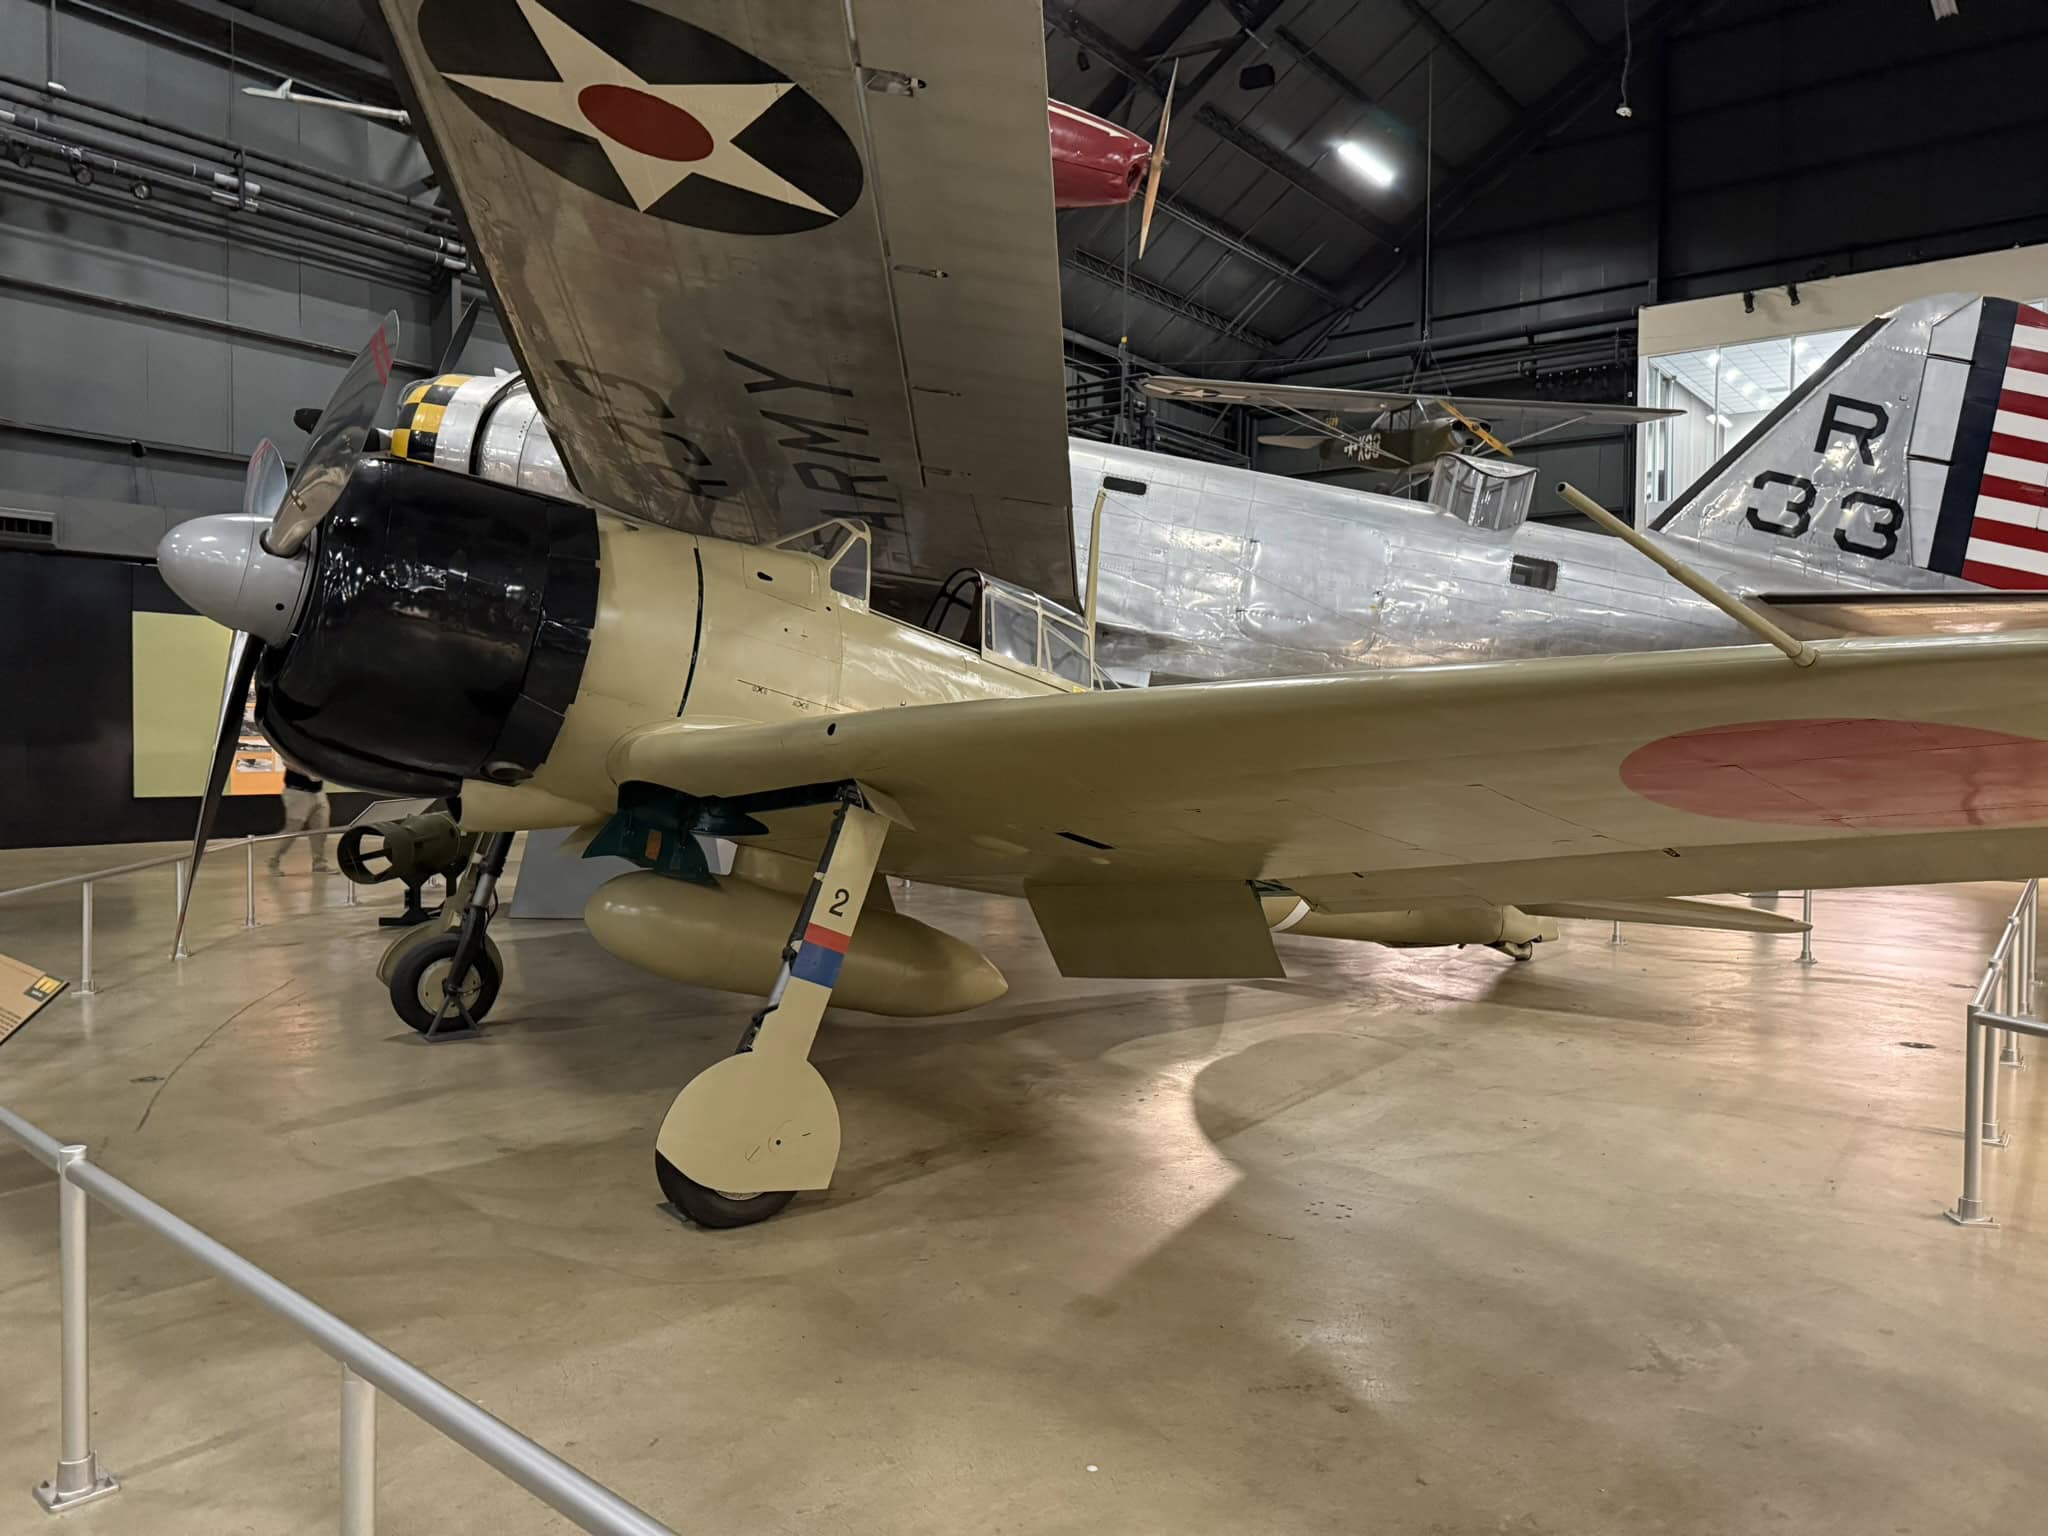
Japan Zero Fighter. Image Credit: 19FortyFive.com Taken at the National Museum of the U.S. Air Force.
The Americans still had one crucial element of their military intact. Naval intelligence was set to play a major role in the Battle of Midway. The remaining U.S. fleet needed strategic insight to change the course of the battle.
The Japanese operated the renowned Kidō Butai, an aircraft carrier strike force, in the Central Pacific.
The United States Was Flush With Carrier Aviation Assets
The Americans still had plenty of torpedo and dive-bombing planes, which ended up sinking four Japanese fleet carriers on June 4, 1942. This halted the Japanese navy and made them pause. How could the Americans strike back so quickly and fiercely?
They should have been defeated after Pearl Harbor, and the Japanese weren’t sure this war was going to be so easy.
Midway Was the Spark That Helped Burn the Japanese Fully
The American victory at Midway also gave the U.S. Navy and Marine Corps time to develop the island-hopping strategy that eventually won the war. Without that victory at Midway, the Americans might have been forced to retreat empty-handed.
Diorama simulating periscope view from Nautilus, attacking a Japanese aircraft carrier at the Battle of Midway.
In August 1942, Midway boosted the United States’ confidence in its ability to attack the Solomon Islands.
Leadership at the Top Led to Victory
One hero of Midway was Rear Admiral Raymond A. Spruance, who commanded Task Force 16, which included the carriers USS Enterprise, Hornet, and Yorktown, along with their escort ships. Spruance believed that concentrating air power in this way would be the key to victory.
Achieving this required a high level of naval planning and coordination to demonstrate American naval air strength to the Japanese.
Keeping the pilots operating together improved communication efficiency and aerial maneuverability.
Task Force 16 would require a considerable amount of fuel, and Spruance knew this could limit his aircraft’s range.
Nevertheless, he still wanted to strike first, accepting the risk of reducing the carriers’ combat radius.
The American warplanes were ordered to take off toward the Kidō Butai immediately after launching. Spruance understood that this attack was risky, but it could also secure a decisive advantage against the Japanese and sink enemy carriers.

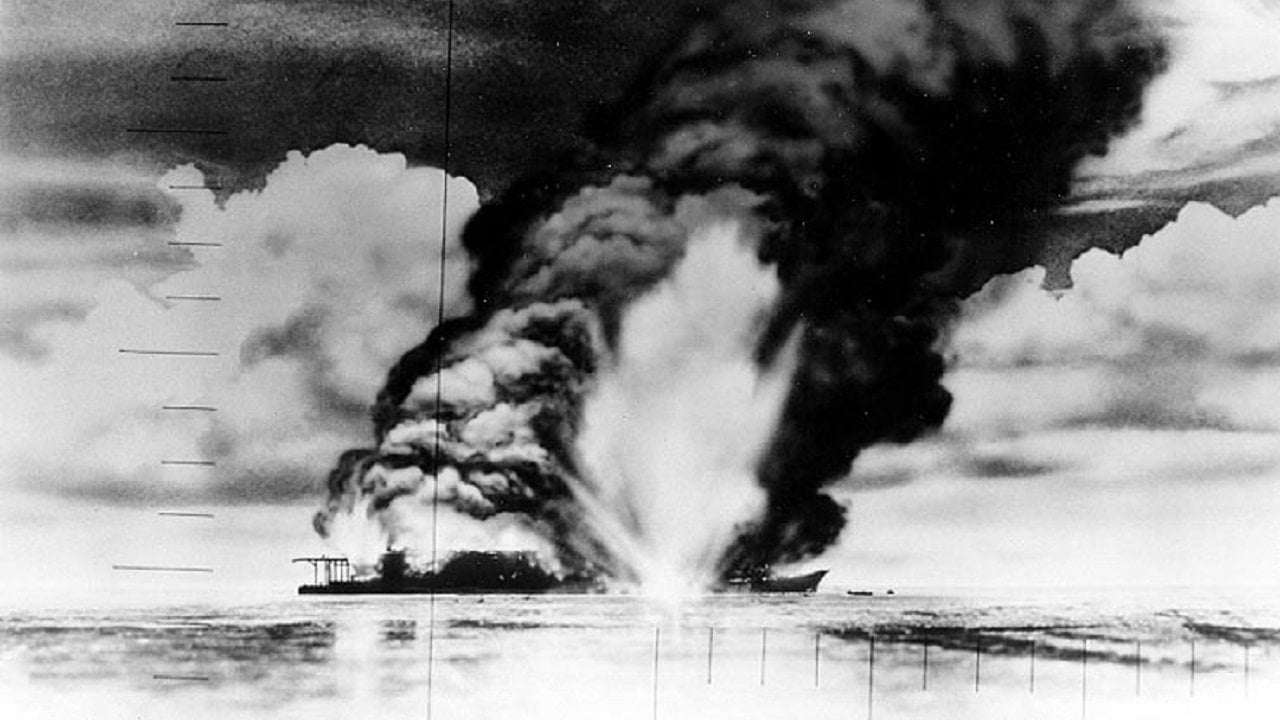
The Japanese heavy cruiser Mikuma, photographed from a USS Enterprise (CV-6) Douglas SBD-3 Dauntless during the afternoon of 6 June 1942, after she had been bombed by planes from Enterprise and USS Hornet (CV-8). Note her shattered midships structure, torpedo dangling from the after port side tubes and wreckage atop her number four 203 mm gun turret. The photo flight was led by Lt(jg) E.J. Kroeger, A-V(N), USNR, of Bombing Squadron 6 (VB-6) with photographer Mr. A.D. Brick of Fox Movietone News in a SBD-3 of VB-3 (“3-B-10”). Kroeger was accompanied by Lt.(jg) C.J. Dobson of Scouting Squadron 6 (VS-6) and photographer CP(PA) J.S. Mihalovitch in SBD “6-S-18”.
Nimitz Gave His Blessing
Pacific Fleet supreme commander Chester W. Nimitz approved of Spruance’s plan. Nimitz adhered to the “principle of calculated risk.”
He believed that Task Force 16 should “avoid the exposure of your force to attack by superior enemy forces without a good prospect of inflicting, as a result of such exposure, greater damage to the enemy.”
Although somewhat convoluted, Nimitz was essentially saying it was time to take the fight to the enemy and that this effort was worth the gamble.
Spruance also understood that more American ships were being produced quickly.
If he gambled with his task force, heavy losses could still lead to a Pyrrhic victory, and reinforcements would eventually arrive.
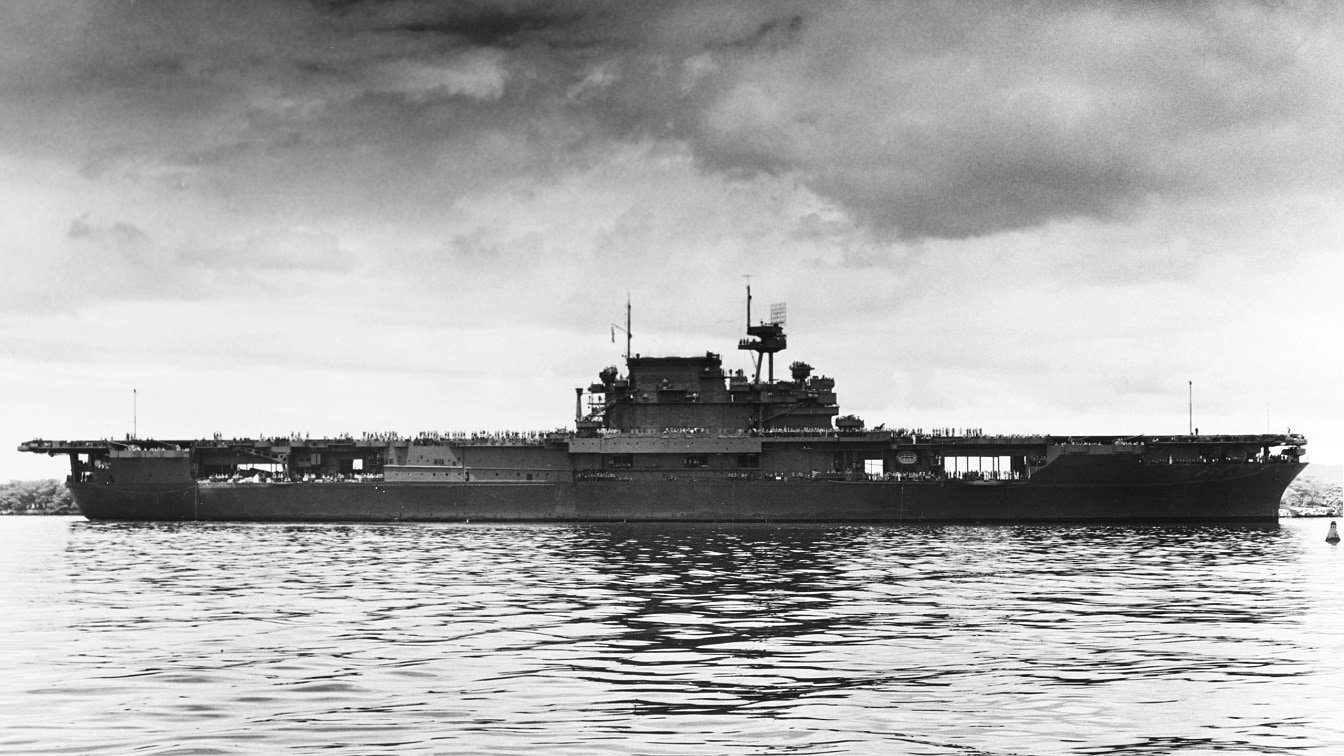
The U.S. Navy aircraft carrier USS Enterprise (CV-6) entering Pearl Harbor on 26 May 1942, following the Battle of Coral Sea and shortly before the Battle of Midway.
Sending Enemy Carriers to Davy Jones’ Locker
This confidence at the high command level allowed American airplanes to sink four Japanese carriers (Akagi, Kaga, Soryu, Hiryu).
U.S. intelligence efforts to break Japanese communication codes determined the location of the enemy fleet and the number of ships present.
The dive-bombing and torpedo attacks were timed when the carriers’ aircraft were on deck and when the Japanese warships were replenishing. Dive bombers attacked from high altitude to thwart the lower-flying Japanese fighters.
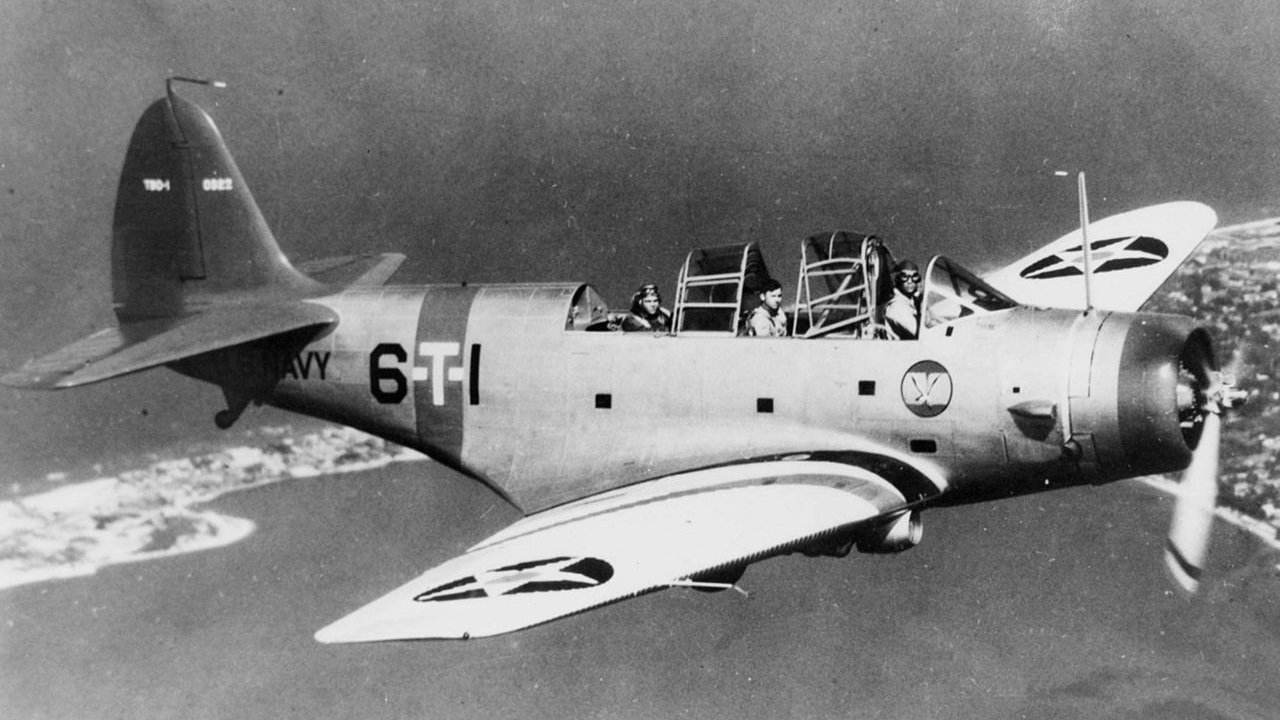
The Critical U.S. Airplanes that Won the Day
The Douglas SBD Dauntless—specifically the SBD-3 version—without a doubt was the airplane that did the most damage to the Imperial Japanese Navy during the battle.
SBDs dropped 1,000-pound bombs, which were credited with the sinking of the four Japanese aircraft carriers.
The SBD Dauntless also eliminated many Japanese fighter planes during the war, racking up an impressive air-to-air kill ratio.
There were some losses, though.
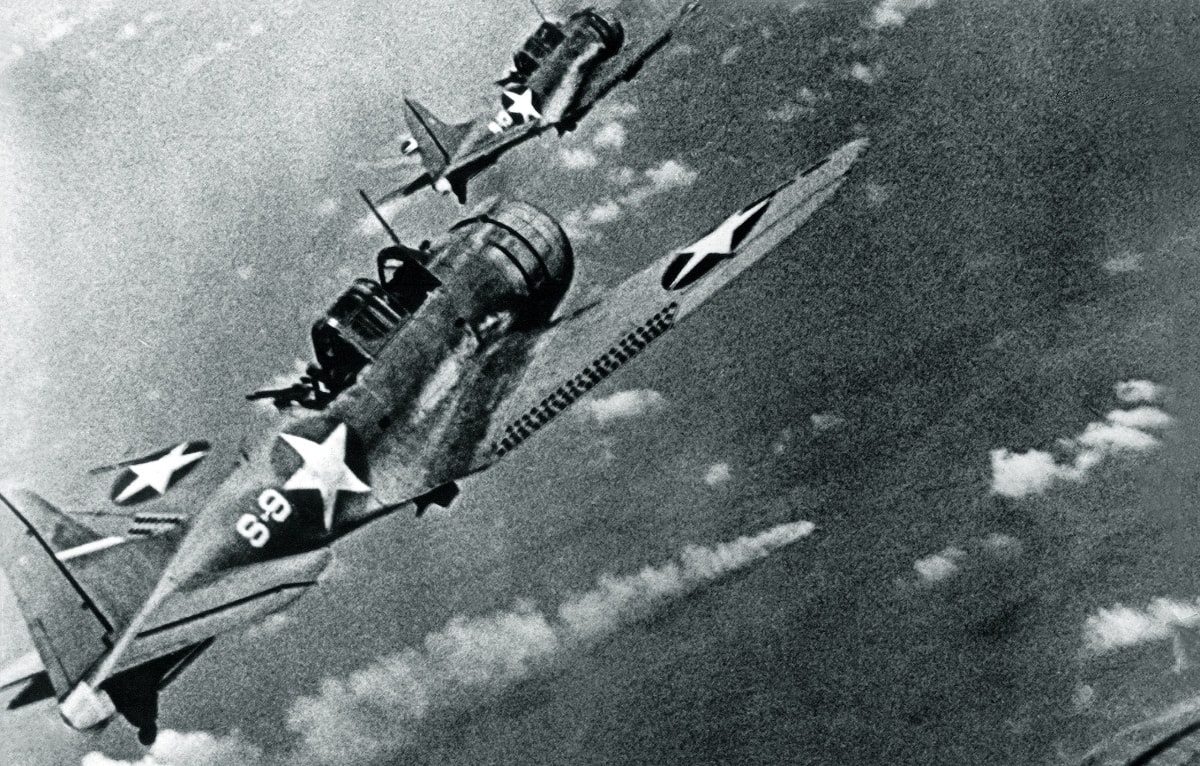
Image: Creative Commons.
Not all airplanes succeeded during Midway. The Douglas TBD Devastators performed poorly.
Thirty-five out of forty Devastators were lost to Japanese Zeros or anti-aircraft fire. This surprised the Americans, who had high hopes for the plane before the battle began.
The Brewster Buffalo also struggled against Japanese fighters and gunfire from Japanese ships.
Meanwhile, the Grumman F4F Wildcat proved its value against the enemy.
The Wildcat was equipped with good armor and seals over its fuel tanks. This extra protection was necessary to withstand fire from Japanese airplanes and ships.
The Wildcat had a kill ratio of nearly 6 to 1.
What Led to Victory?
The Battle of Midway was won through smarts, confidence, strategic foresight from the command structure, and the bravery of many pilots.
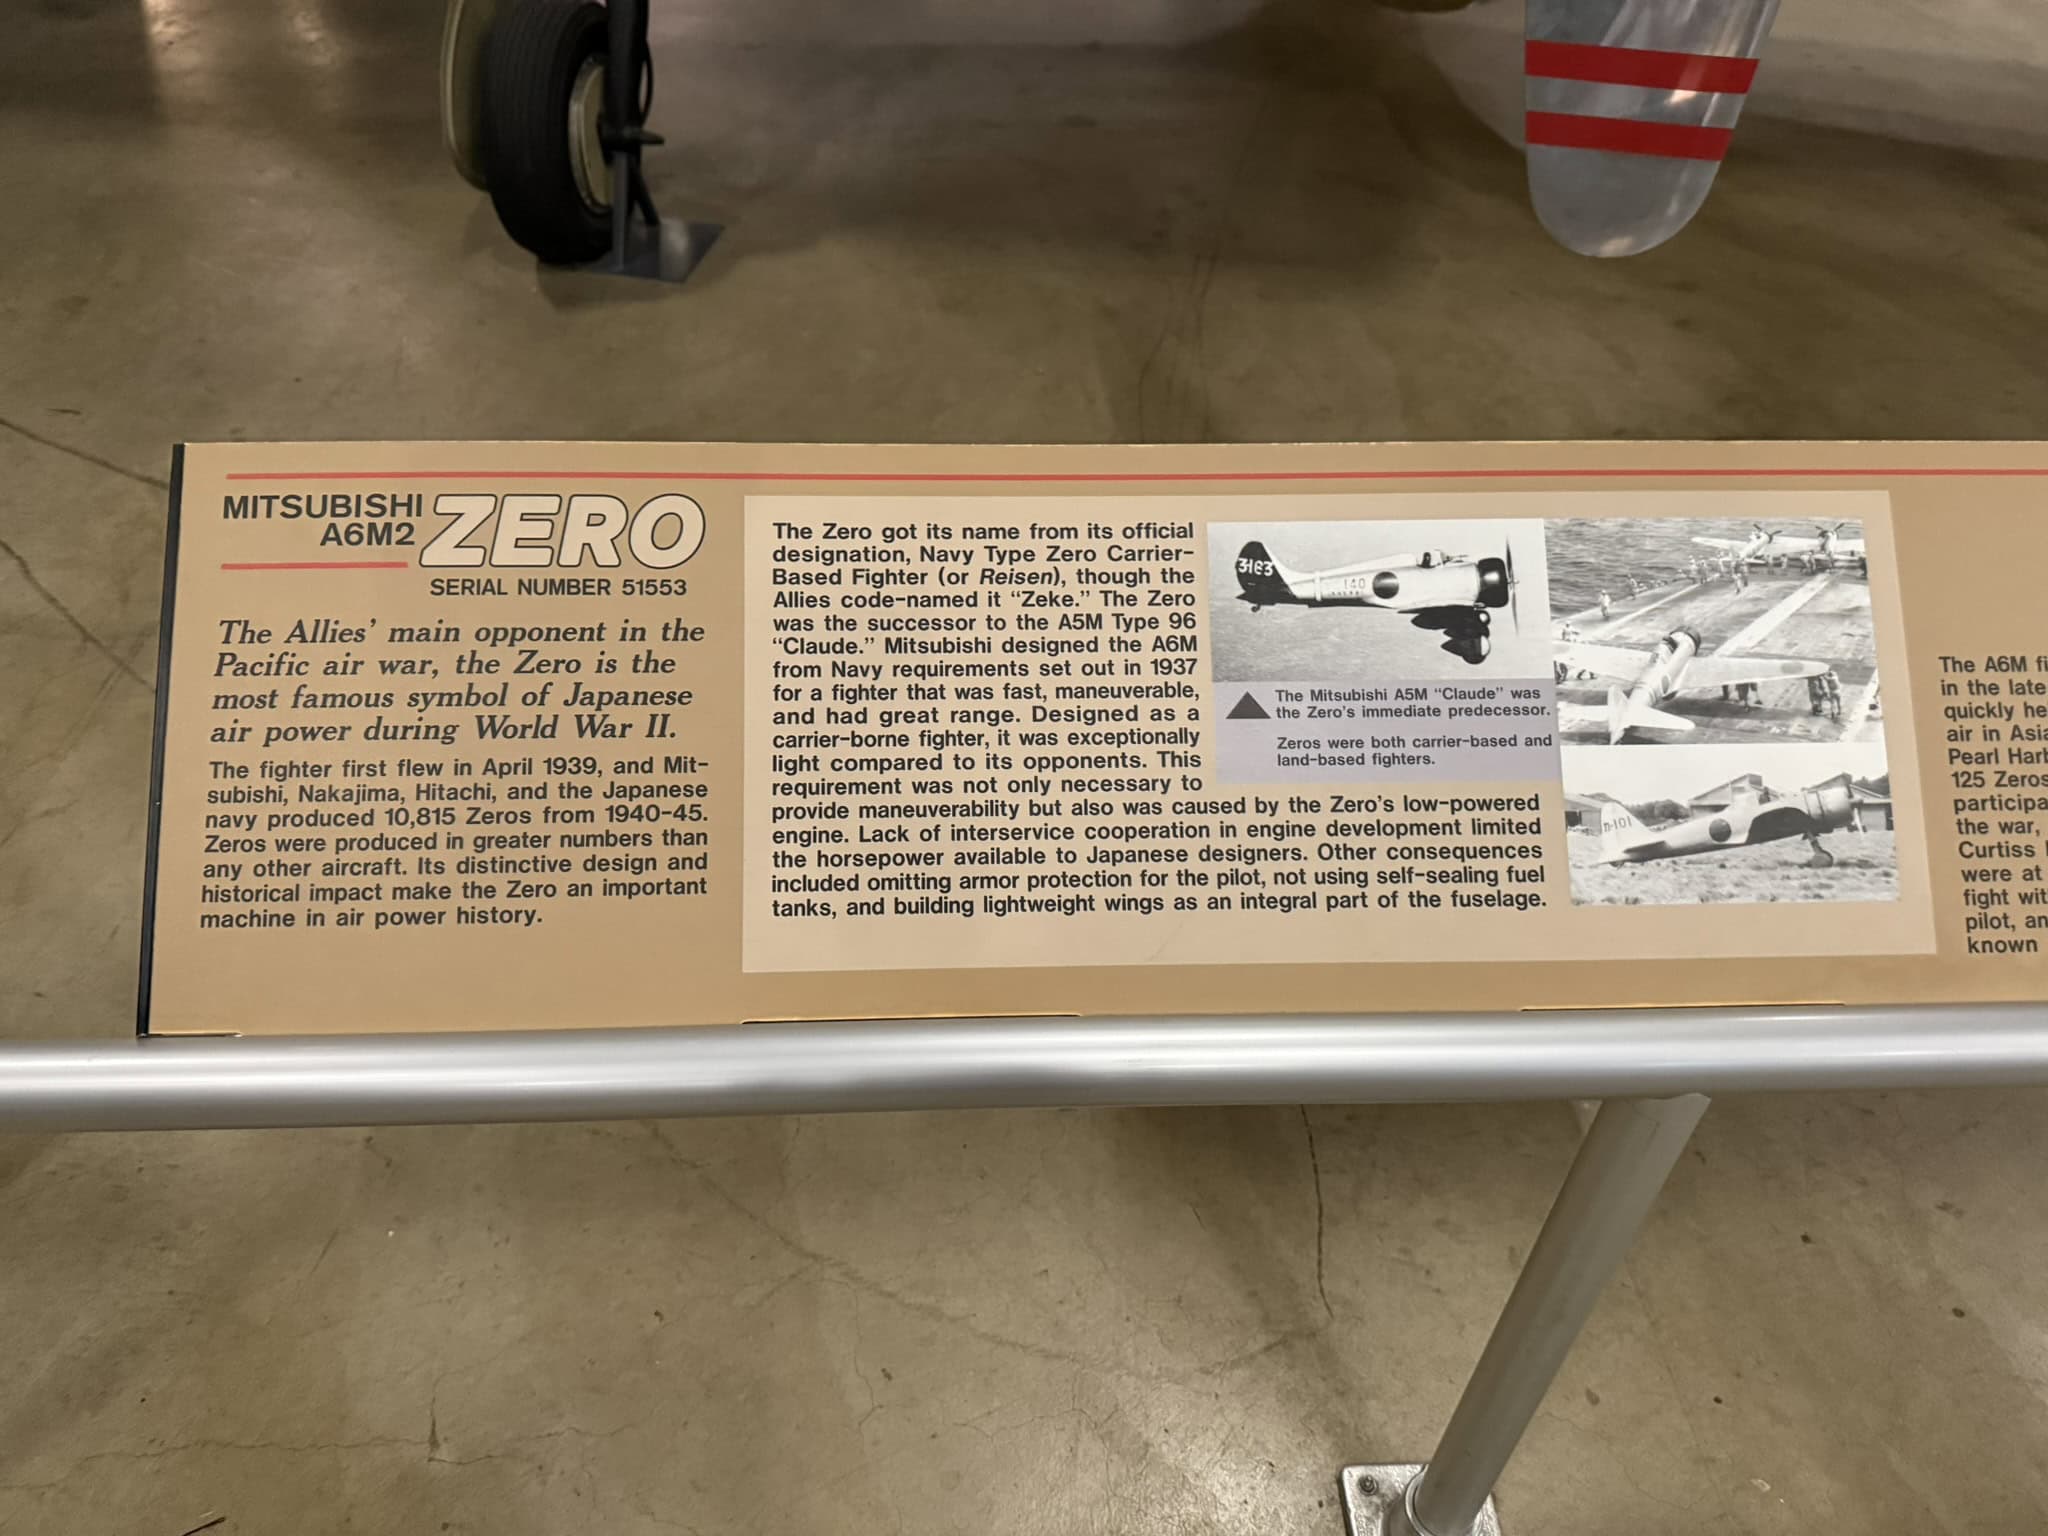
Japan Zero Fighter. Image Credit: 19FortyFive.com Taken at the National Museum of the U.S. Air Force.
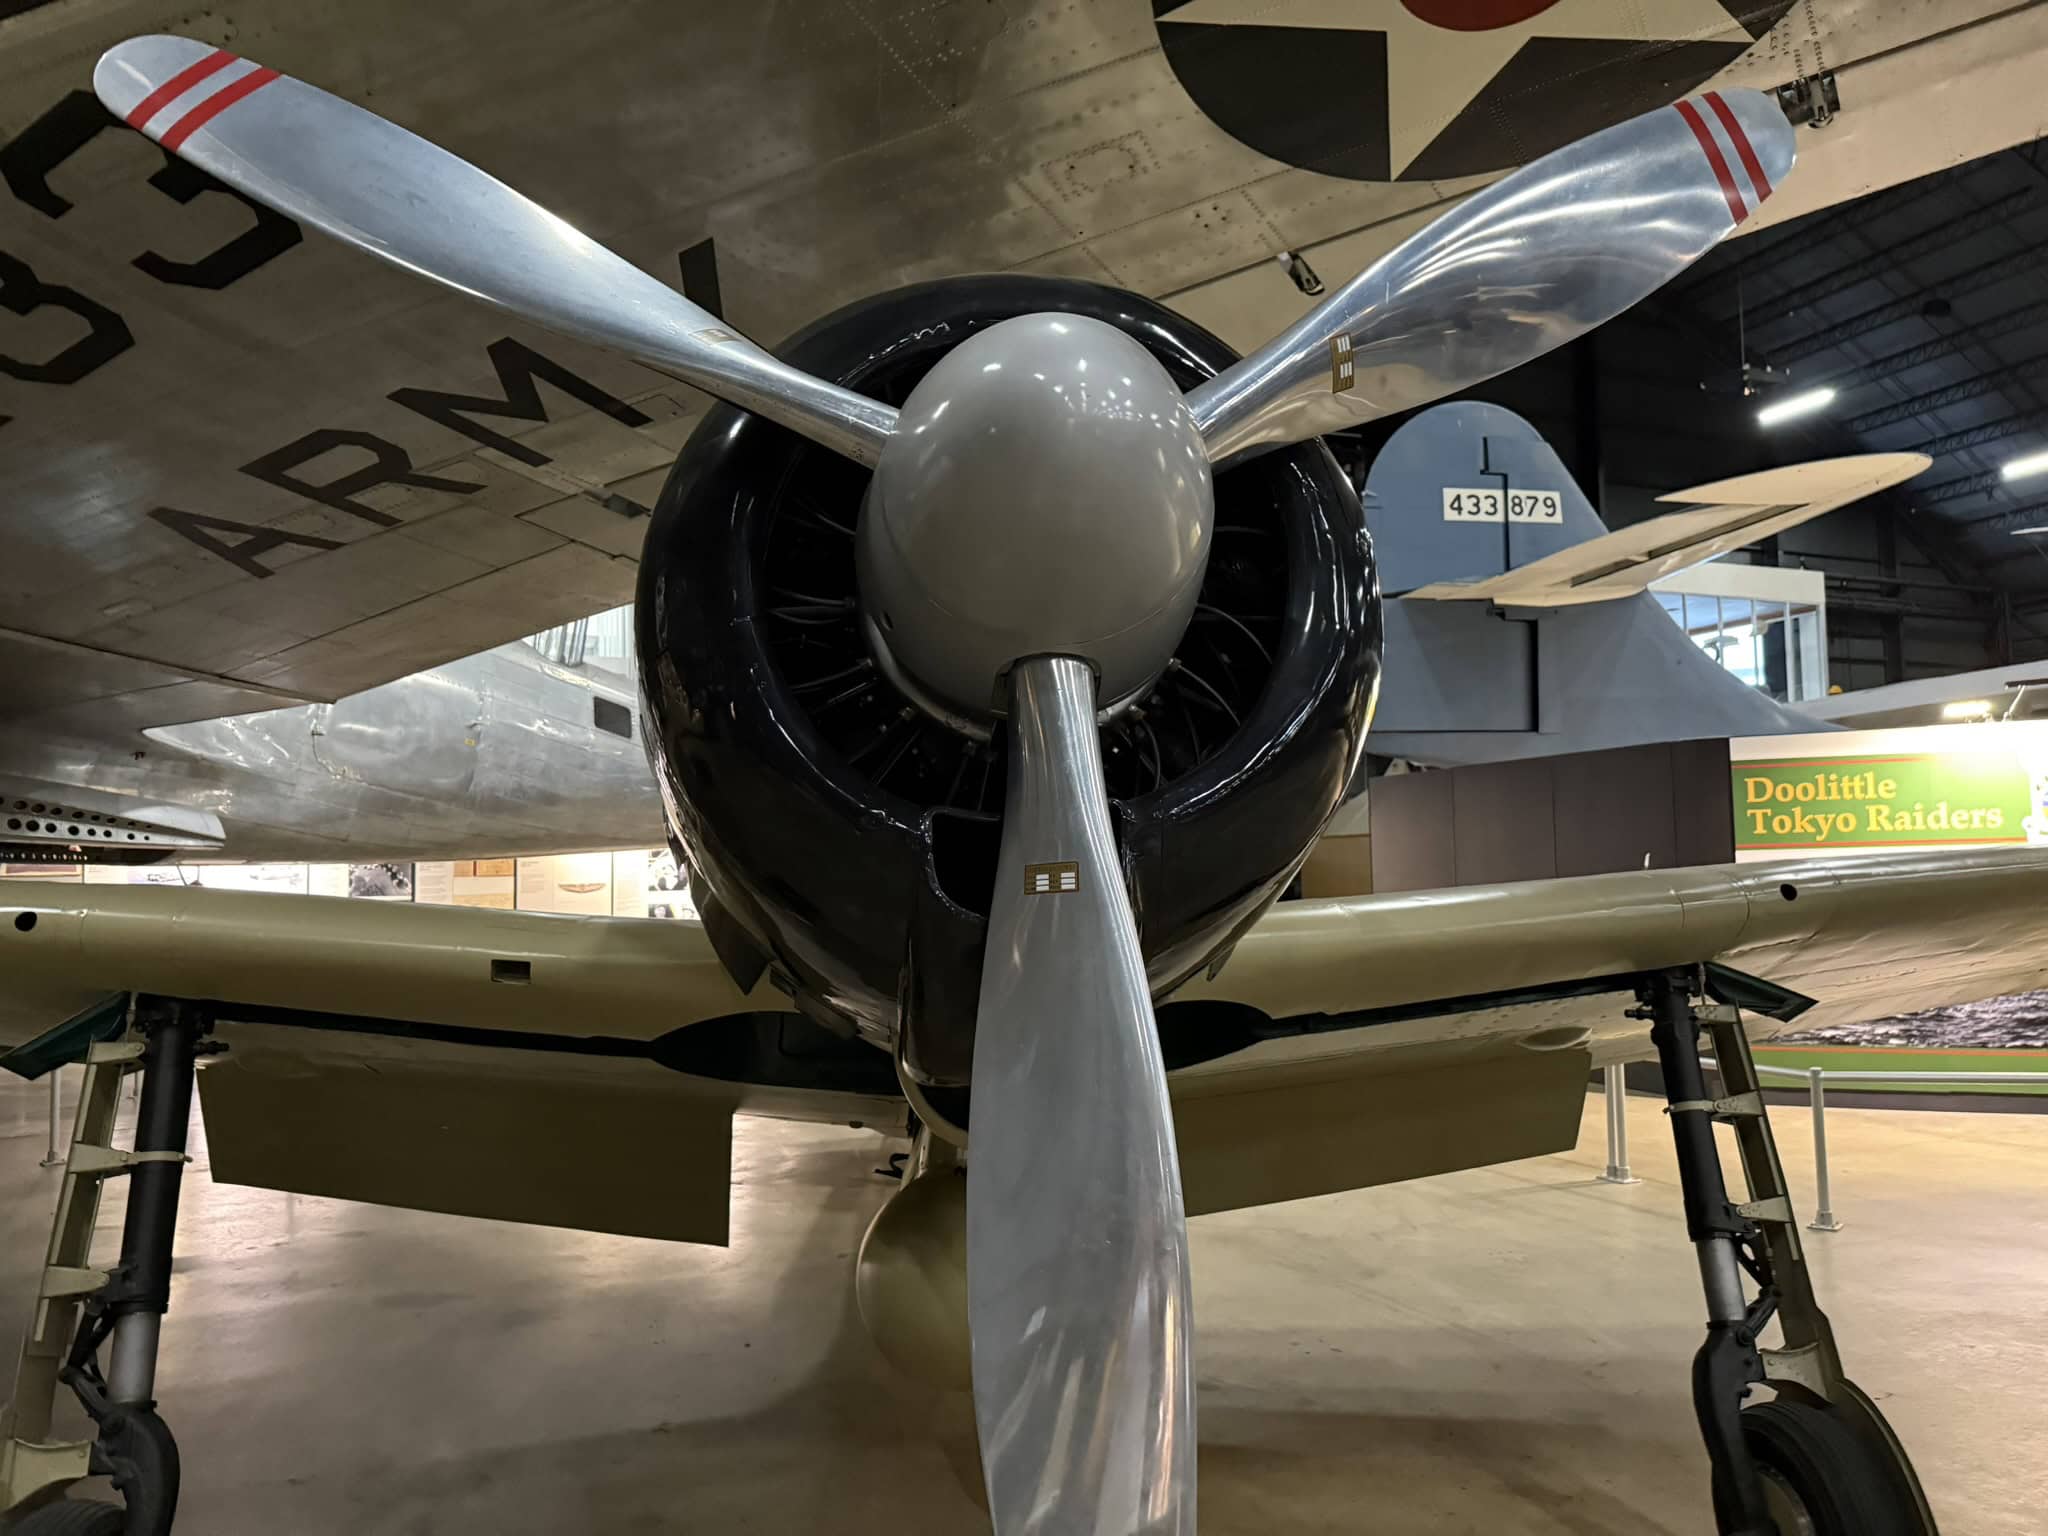
Japan Zero Fighter. Image Credit: 19FortyFive.com Taken at the National Museum of the U.S. Air Force.
It marked a turning point in the war and a crucial victory for the Americans, who were eager for good news.
Most of the aircraft performed well, with the SBD Dauntless and the Wildcat leading the charge.
Plus, naval intelligence worked above and beyond their duties. This was a fight to remember, demonstrating the teamwork needed to secure the United States’ ultimate victory in the war.
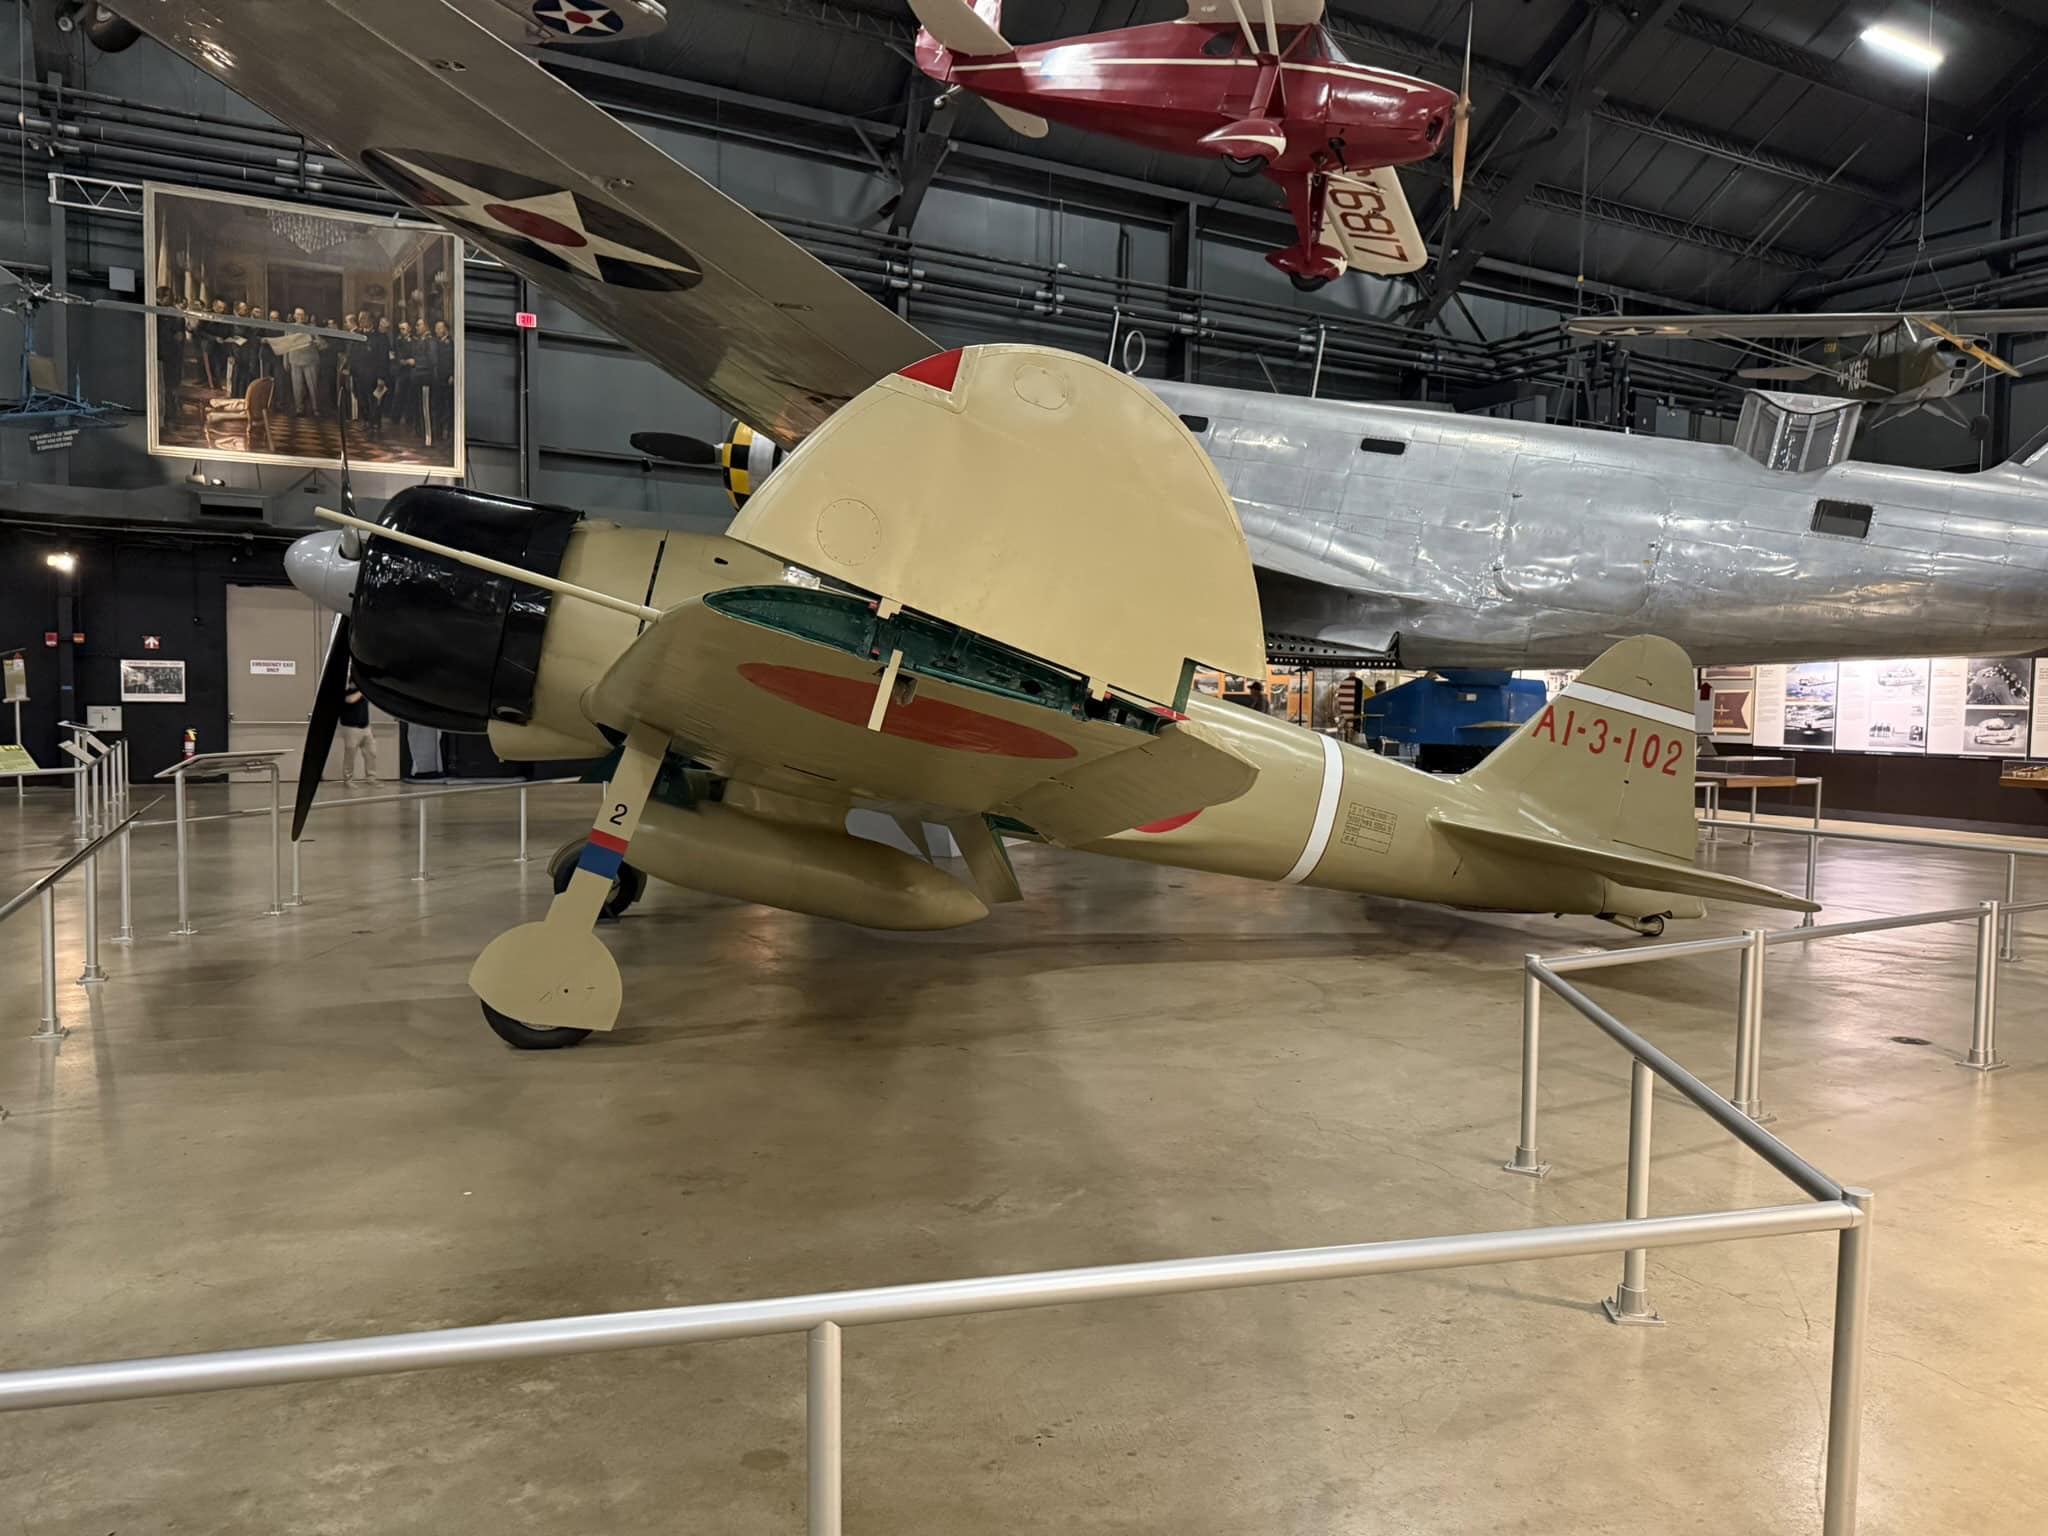
Japan Zero Fighter. Image Credit: 19FortyFive.com Taken at the National Museum of the U.S. Air Force.
About the Author: Dr. Brent M. Eastwood
Author of now over 3,500 articles on defense issues, Brent M. Eastwood, PhD, is the author of Don’t Turn Your Back On the World: A Conservative Foreign Policy and Humans, Machines, and Data: Future Trends in Warfare, plus two other books. Brent was the founder and CEO of a tech firm that used artificial intelligence to predict world events. He served as a legislative fellow for U.S. Senator Tim Scott and advised the senator on defense and foreign policy issues. He has taught at American University, George Washington University, and George Mason University. Brent is a former U.S. Army Infantry officer. He can be followed on X @BMEastwood.